Well, I passed on the can of spinach... maybe later, thanks... but I did get busy.
Over the last year I've started feeling as though the studio walls were slowly creeping in on me. There is so much stuff stored in my studio that there is almost no room to work. One corner has 30+ finished paintings on gallery canvasses (the thick ones); then there are all the blank canvasses lined up, patiently waiting for their turn to show off their beauty; easels in another spot, in addition to the big one that I usually use; rolling suitcases that I use for transporting art supplies to classes taking up more floor space; and piles of new art tools that have never even had a home... just put on the table to sort out later.
Finally, with having no space to lay my recent large paintings flat to varnish and wire, I decided that the time to deal with it was NOW, and I got busy. Although there is still lots to do, I now have two bare work tables on which to lay my large pieces. Paint jars are back on their shelves, brushes are back in their appropriate coffee cans, oh, and the box of brayers that I haven't been able to find for ages, I found it in the strangest place: where it was supposed to be on the shelf! Imagine that!
I now have a room in my basement that, with a few modifications, will become a store room for those 30+ finished paintings and canvasses-in-waiting, which will free up a lot of room in the studio, making it a much more creative space, and I did it all while waiting for paint to dry!
The art exhibition for the students at the Cumberland Lodge was this past Sunday and even though there were not a lot of pieces of artwork we had a great time. The students were thrilled to see their work framed and hanging on the office divider screens we used. You could just see it in their faces when they came in! Cheryl also put together bio's for each of the exhibitors and some also brought other art or crafts to display on their panel. Poet, Brenda, who is a resident, was on hand to do a book signing of her two published poetry books. Refreshments were provided by the Lodge and there were some amazing looking cupcakes, which I had to resist... oh, but they looked absolutely scrumptious!
Phil, one of the very generous donors of the art supplies for this course was also in attendance and it turns out that he is a talented artist himself, even having only taken up painting recently. We also had a visit from Diane, an artist that lives just down the road from the Lodge who came in to show us a painting that she had been doing of her amazing log home for a wedding gift for her son. The residents of the Lodge had regularly stopped by, on their walks, to see what progress she had made on the painting. They were thrilled to see it finally completed.
During the various conversations the idea of a Christmas Craft Bazaar came up and the talk, it seems, has been ongoing. I have agreed to conduct some workshops on Christmas ornaments etc, for residents to make, either for the bazaar or as gifts. This should be a lot of fun as there are some very talented residents and they are always enthusiastic about learning and doing new things! What a treat it has been working with them!
This Week's Painting Tip: Stencilling
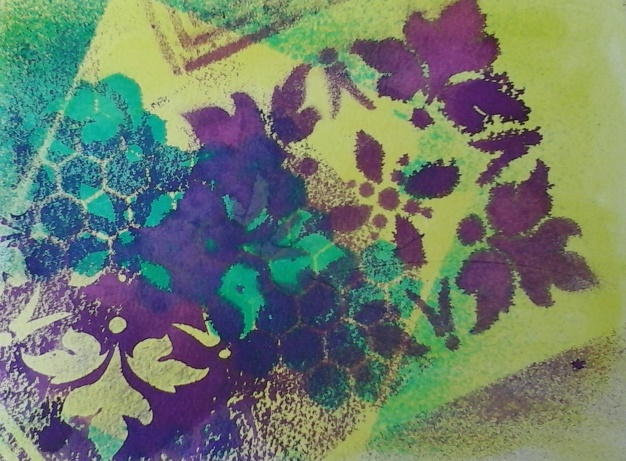
One of the techniques we used to create journal pages at the Lodge was stencilling with spray inks and distress stains.
Here's the process we used:
- Create a light coloured background using the distress stain dauber to spread some on your paper and then using a wet-nap to spread it all over the page evenly. Ideally you should let that dry or encourage it with a hair dryer.
- Then lay a stencil over the background and spray it with the ink. Lift the stencil carefully.
- Again let dry before you apply more.
Another trick is a subtractive technique where you lay the stencil over a wet background and apply a clean dry paper towel over the stencil to lift the colour where the stencil is open.
Stencils can also be used to add texture to a mixed media piece by spreading a wide range of acrylic texture mediums or high viscosity/heavy body paint over the stencil with a palette knife and then lifting the stencil off carefully.
You can also create your own stencils by cutting them out of plastic stencil sheets available at craft stores, or a sheet of acetate.
When purchasing stencils the design is always the most important thing, but pay attention to whether it will give a positive or negative image when used and also, you need to be aware of the durability of your stencil. Some of the first ones I bought were flimsy acetate sheets which barely survived their first use. Nowadays I see that the stencils seem to be more durable, but, non the less, it's something to watch for.
And, this week I came across a video on YouTube, produced by Lindsay Weirich, thefrugalcrafter explaining how to create stencils with a hot glue gun and a silicone baking sheet. Perfect for creating custom stencils! If you are into mixed media or journalling you should check it out at https://www.youtube.com/watch?v=YbLcxJ0RYQQ. Enjoy!
Below is a quick demo of stencilling with the inks. The bleeding can be eliminated by letting the inks dry between layers.
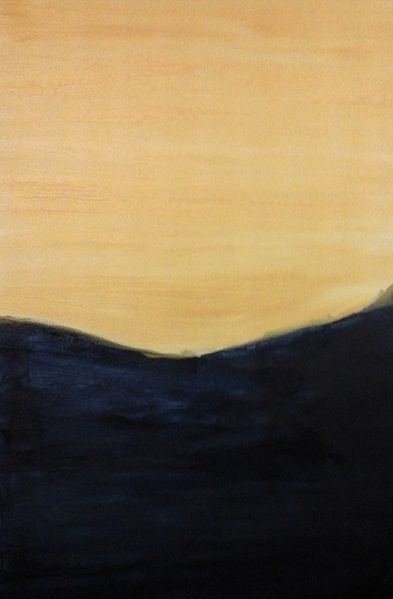
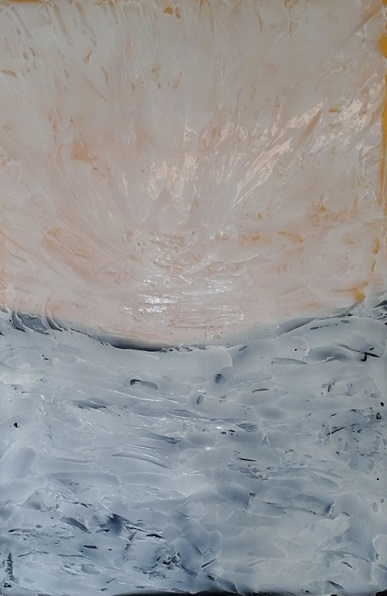
With the painting from Jane's Photograph and Quiet Reflections finished, except for varnishing... which I can now do, I have started a new painting. This one is a little different from the last two as I'm not using metal leaf, and it will be done in multiple intertwined layers instead of simple layers. To start I sketched out my design on the canvas with a light gray soft pastel pencil, which easily wipes off with a cloth or disappears when you paint over it. I just wanted to sort out the composition in my mind as I am working from several different photographs to create this painting. Once I decided where things would go I blocked in my lower area with Payne's Grey and put two coats of gold gesso over the upper half. I'm hoping the gold gesso will maintain some of the luminosity that the leaf offers but not as strong as the leaf. When that was dry I spread my gloss gel medium over the whole canvas and created the texture, keeping in mind what would be going in the various areas of the painting. Remember, there will be several layers of texture to build the painting up to it's finished level. Now I wait for that to dry... usually ready to work on the following day, unless of course it's raining in which case it can take several days. This painting will also have some fun finishing techniques that I think you will enjoy, so stay tuned!
Best wishes,
Susan


 RSS Feed