
Another busy week, but I did manage to get to a couple of fabric stores and picked up some fabulously flamboyant fabrics for use in my work. It’s easy to justify purchasing fabric for art, but for sewing projects not so much, as I never seem to have the time to get them sewn!
Speaking of fabrics, I had the following question from fellow artist, Susan Irving www.applesandart.ca/susan-irving/ …
“Looks like that is going to be fun! I was at a vernissage recently and much of the abstract art contained feathers and fabric, which did not seem to be treated in any way. I was wondering how that would hold up over time. What are your thoughts on this?”
Here is how I answered Susan …
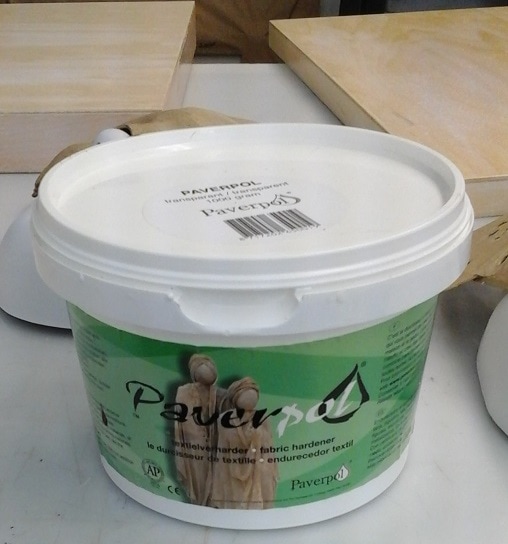
“I would expect untreated fabric to break down over time, especially natural fibres. For example, about 30 years ago I made cotton lap quilts and the cotton fabric is now starting to disintegrate. Acrylic mediums, and Paverpol fabric hardener (also an acrylic polymer product), seem to slow down the process a great deal. I have a heron sculpture that I made with fabric and Paverpol and it has been out, year-round, in my garden for six or seven years and still looks like the day I made it. It is also important to note that untreated fabrics can collect dust and dirt, while those that are protected can simply be wiped clean with a damp cloth, or dusted with a house painter’s brush.
Feathers, I think, are a little more durable... like human hair, but I would still treat them with a polymer medium as it does slow down fading and aging. I once tested images printed using non-archival inkjet printer inks. Half I coated with acrylic medium and half I left uncoated. The uncoated ones faded very rapidly while the coated ones did not, in fact I got tired of having them on my window sill and finally threw them out, with almost no fading... I also had some that I kept in the dark as a control, to gauge the fading.
Even the great masterpieces need conservation from time to time, as the oil paint starts to crack and peel or the canvas eventually starts to rot and disintegrate. Fortunately, we have conservators who can preserve these wonderful paintings.”
Watch for Spring, coming in my next blog... with or without groundhogs!
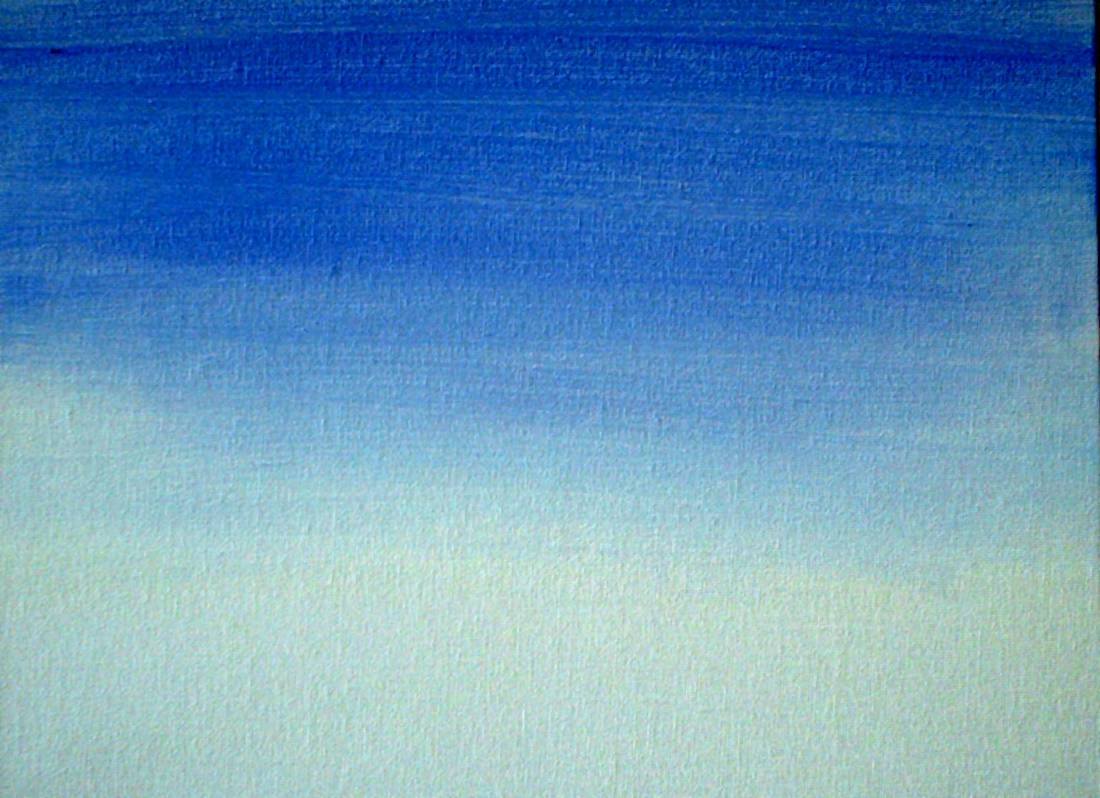
This Week’s Painting Tip: Painting from Dark to Light
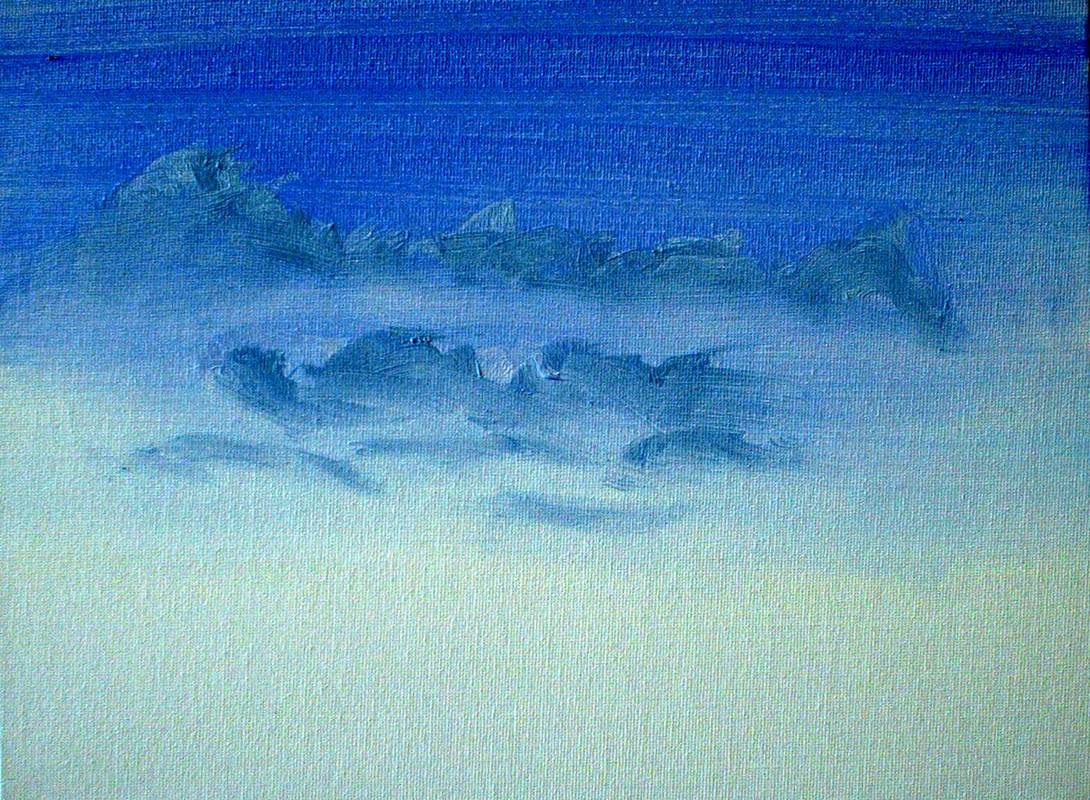
For those who paint in more opaque mediums, such as oils, acrylics and pastels, working from dark to light gives a painting an additional level of depth.
When painting trees I start with the darkest greens and then apply a minimum of two more layers of lighter greens to create depth. Think about it, the darkest greens will be in the shadows, underneath the leaves that are directly hit by the sun. Working from dark to light puts those shadows exactly where they need to be to create a natural looking tree. Same thing with tree trunks… I start with the darkest colour, add a medium and then the highlights.
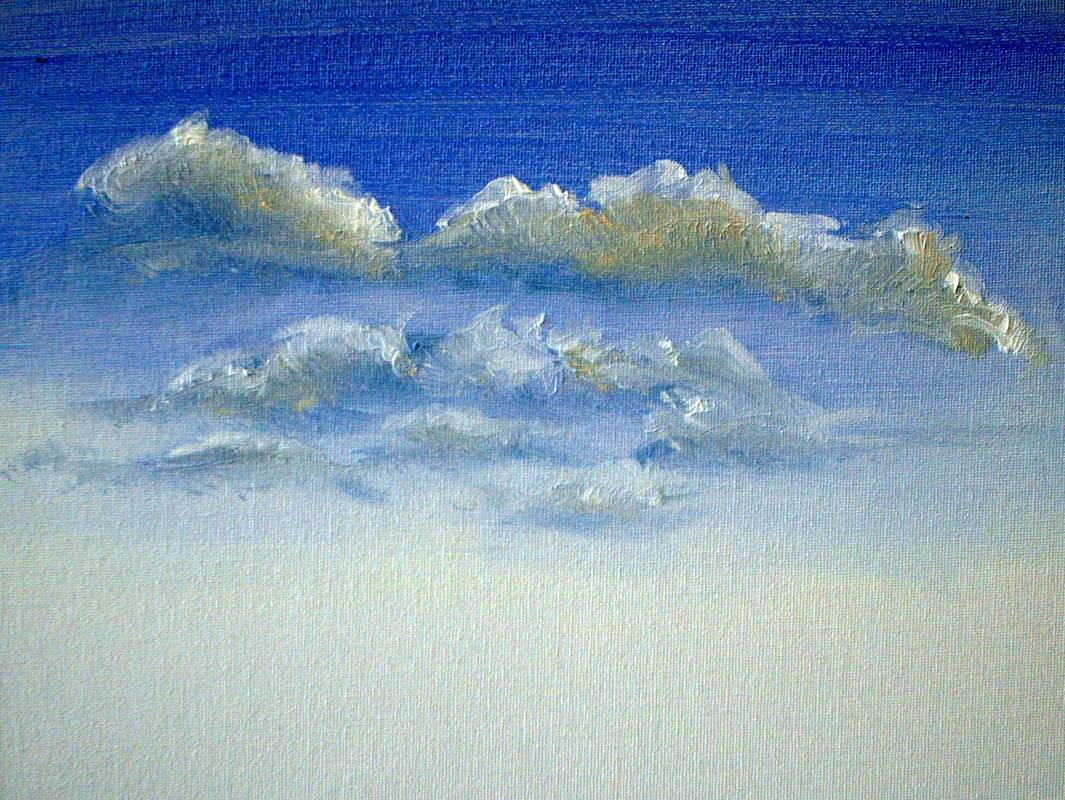
You can apply this approach for everything… rocks, clouds, animal fur, human hair, waterfalls/water of any type, faces, fruit… anything!
Speaking of fabrics, I had the following question from fellow artist, Susan Irving www.applesandart.ca/susan-irving/ …
“Looks like that is going to be fun! I was at a vernissage recently and much of the abstract art contained feathers and fabric, which did not seem to be treated in any way. I was wondering how that would hold up over time. What are your thoughts on this?”
Here is how I answered Susan …
“I would expect untreated fabric to break down over time, especially natural fibres. For example, about 30 years ago I made cotton lap quilts and the cotton fabric is now starting to disintegrate. Acrylic mediums, and Paverpol fabric hardener (also an acrylic polymer product), seem to slow down the process a great deal. I have a heron sculpture that I made with fabric and Paverpol and it has been out, year-round, in my garden for six or seven years and still looks like the day I made it. It is also important to note that untreated fabrics can collect dust and dirt, while those that are protected can simply be wiped clean with a damp cloth, or dusted with a house painter’s brush.
Feathers, I think, are a little more durable... like human hair, but I would still treat them with a polymer medium as it does slow down fading and aging. I once tested images printed using non-archival inkjet printer inks. Half I coated with acrylic medium and half I left uncoated. The uncoated ones faded very rapidly while the coated ones did not, in fact I got tired of having them on my window sill and finally threw them out, with almost no fading... I also had some that I kept in the dark as a control, to gauge the fading.
Even the great masterpieces need conservation from time to time, as the oil paint starts to crack and peel or the canvas eventually starts to rot and disintegrate. Fortunately, we have conservators who can preserve these wonderful paintings.”
Watch for Spring, coming in my next blog... with or without groundhogs!
This Week’s Painting Tip: Painting from Dark to Light
For those who paint in more opaque mediums, such as oils, acrylics and pastels, working from dark to light gives a painting an additional level of depth.
When painting trees I start with the darkest greens and then apply a minimum of two more layers of lighter greens to create depth. Think about it, the darkest greens will be in the shadows, underneath the leaves that are directly hit by the sun. Working from dark to light puts those shadows exactly where they need to be to create a natural looking tree. Same thing with tree trunks… I start with the darkest colour, add a medium and then the highlights.
You can apply this approach for everything… rocks, clouds, animal fur, human hair, waterfalls/water of any type, faces, fruit… anything!
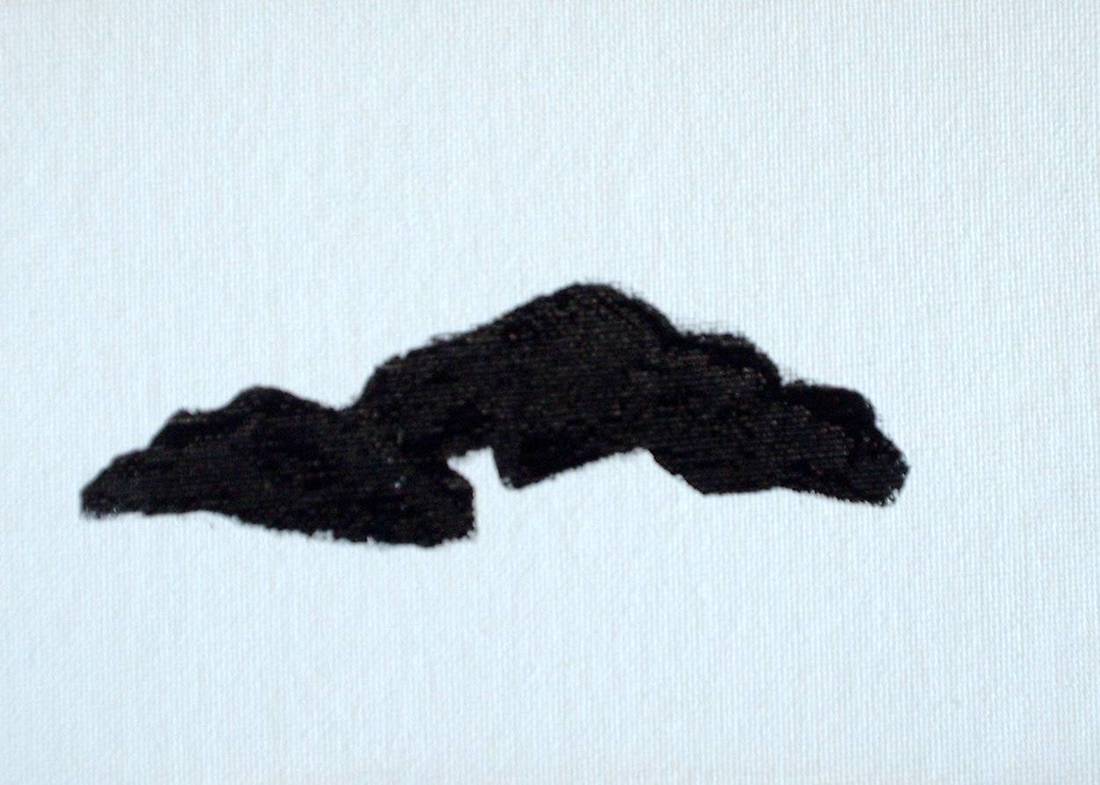
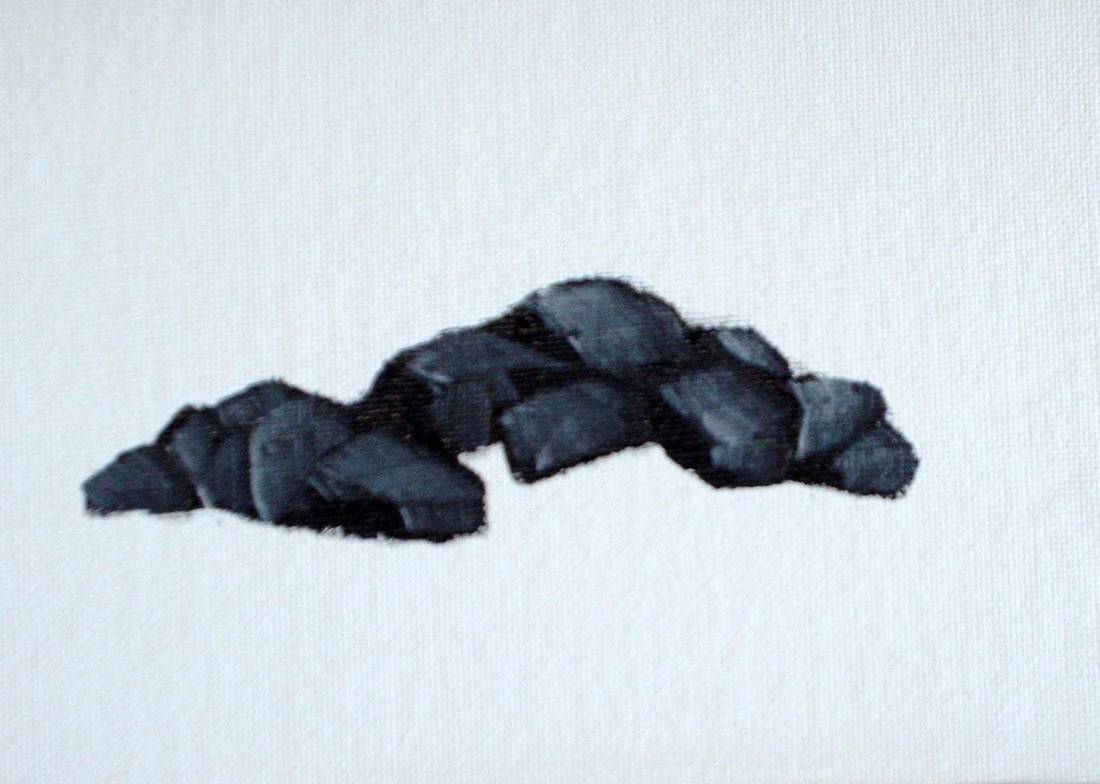
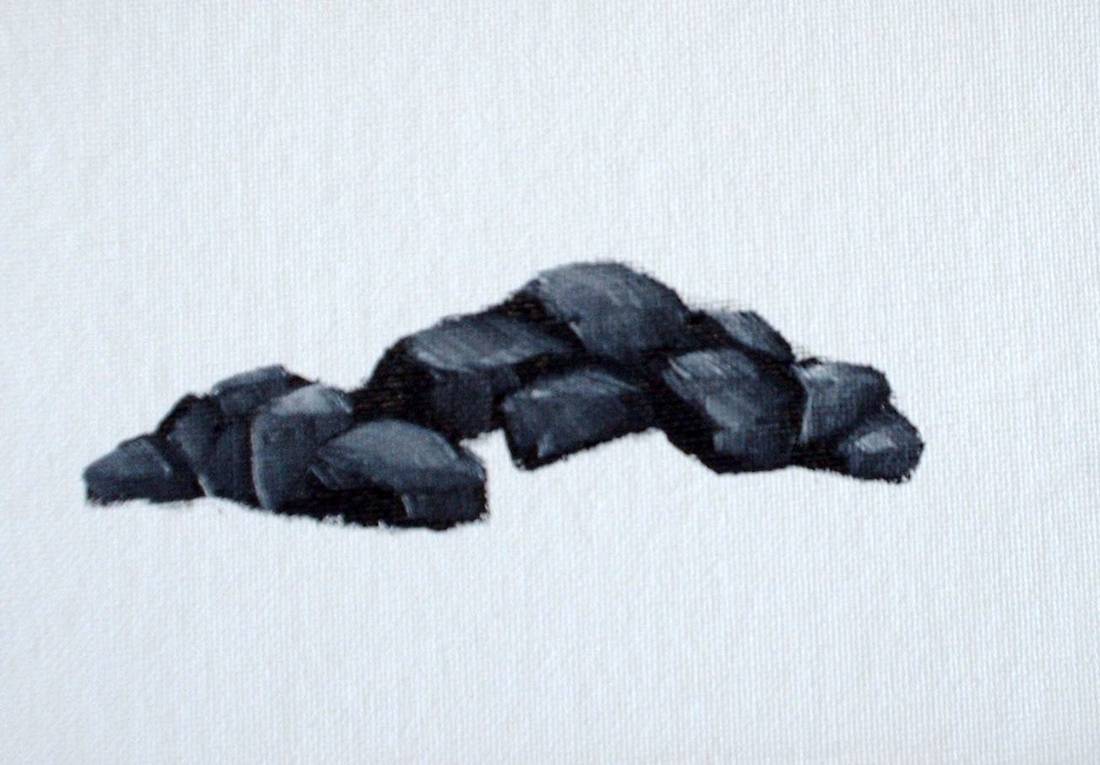
An excellent exercise is to start with a black canvas and start with dark colours and work your way to the lighter colours. By the way, Black Gesso is one of my favourite friends, especially when working in abstract. It covers old paintings well and provides a wonderfully creative surface to start on again.
Here is one of my paintings that rose from a black canvas...
Here is one of my paintings that rose from a black canvas...
Here is an excellent video, showing artist Marcel Witte painting polar bears on black. It is amazing and shows just what can be achieved by painting dark to light. Enjoy!
Polar bear painting: https://www.facebook.com/uniladmag/videos/2607618319261211/
Painting Update:
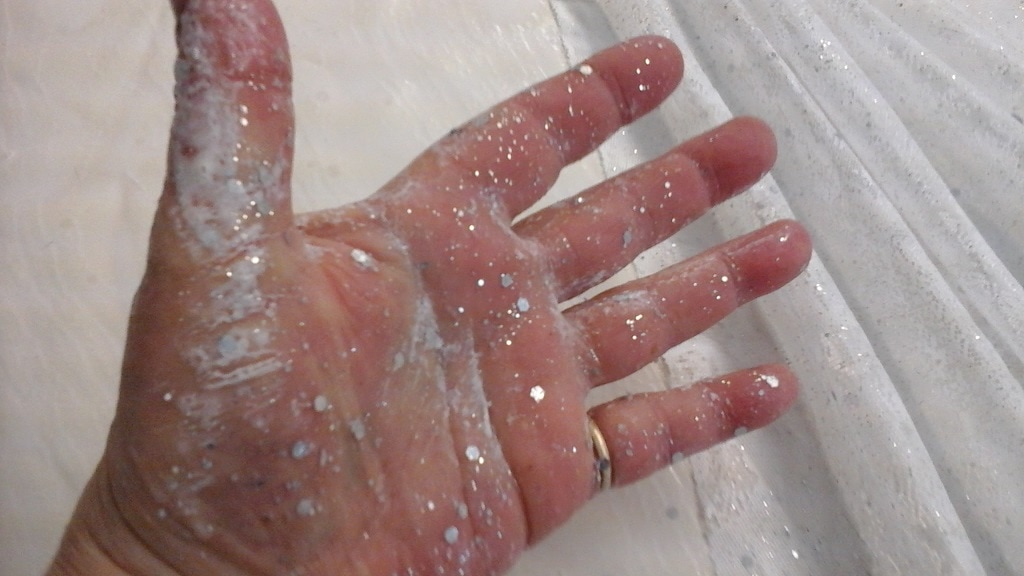
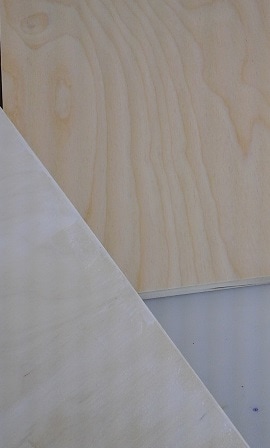
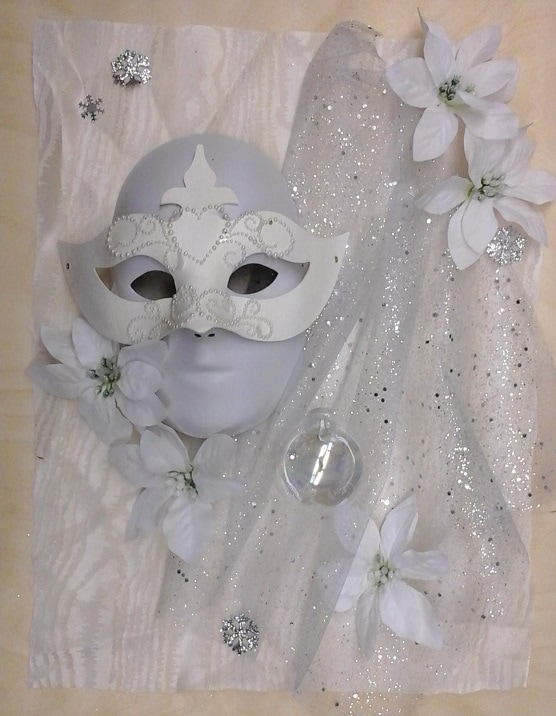
Winter is progressing, and while I’m still seeking a few items to add to it, I got started laying down the background fabrics. Both the moiré taffeta and the glittery net were dipped in Paverpol, the excess removed, and then applied to the birch panel. The moiré fabric was laid flat, but with the net fabric I created waves, like an icy winter wind. I used dressmaker pins to hold the net in place until it is dry, when I will remove them. Hands also become works of art while working with this stuff!
Polar bear painting: https://www.facebook.com/uniladmag/videos/2607618319261211/
Painting Update:
Winter is progressing, and while I’m still seeking a few items to add to it, I got started laying down the background fabrics. Both the moiré taffeta and the glittery net were dipped in Paverpol, the excess removed, and then applied to the birch panel. The moiré fabric was laid flat, but with the net fabric I created waves, like an icy winter wind. I used dressmaker pins to hold the net in place until it is dry, when I will remove them. Hands also become works of art while working with this stuff!

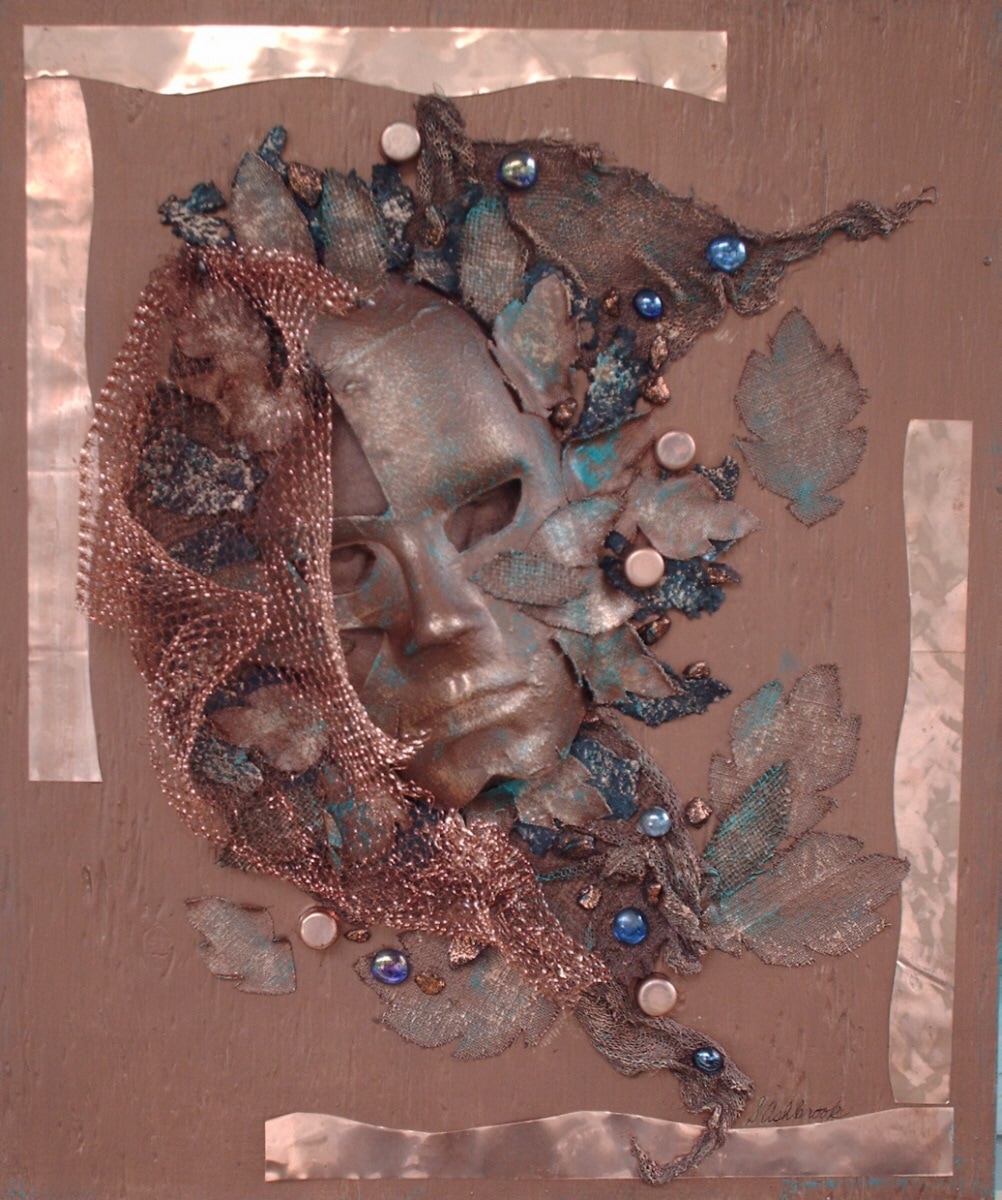
After applying the background the full-face mask was next. I covered the open eyes of the mask with the same fabric as the background. This is to eliminate the rather ghostly appearance of the eye holes with no eyes. Now it just appears that the person in the mask has their eyes closed, and it looks much better! I also used some of the background fabric to anchor the mask to the panel. This will be obscured by additional pieces of the artwork.

Next will be the primary mask and the silk poinsettias and all the bling, but right now I’m waiting for everything to dry… always, always waiting for stuff to dry! Whoever said that acrylics dry too fast??
Thanks for joining me today. I hope you will join me again soon… you can subscribe to my blog from my website at www.susanashbrook.com/blog. Also, please let me know if you enjoyed the blog, subjects that you would like to see covered, and any questions that you may have.
Best wishes,
Susan
Thanks for joining me today. I hope you will join me again soon… you can subscribe to my blog from my website at www.susanashbrook.com/blog. Also, please let me know if you enjoyed the blog, subjects that you would like to see covered, and any questions that you may have.
Best wishes,
Susan


 RSS Feed