
Collage Your World's
Seven Easy Steps to Creating Your Own Vision Board
Susan invited me to talk to you about creating a vision board and I must say her timing is perfect. She has caught me red-handed procrastinating about making a new vision board for myself! Yes, even this instructor can be a huge procrastinator when it comes to making hers! I've been meaning to make one for a year and half now and just haven't roused up the enthusiasm.
You see I've suffered a number of great losses in the last couple of years... separating and divorcing my long-time partner, losing my house, various friends and family all in a short space of time and these things have taken their toll on my spirit. I found myself very disillusioned with life, so much so that I began to be too afraid to dream again.
In doing so I forgot how essential dreaming and imagining are to our lives. Author John Green has said: "If you don't imagine nothing ever happens at all." and this couldn't be more true. A vision board is just that; it's about imagining your dreams and making them real. As well as putting them front and centre in your life, so you don't forget them. If you believe that we only have one life to live, why not make it the best we have!
The first order of creating a vision board is to sit down and imagine what we want our lives to look like. My very first vision board was about beginning an art business as well as an art school. It's a big dream that is only possible to fulfill in small steps. Even though haven't fully realized it yet, since I began my vision board journey many amazing things have happened to me. I believe in its power so much so that I want to share it with others so everyone I know can grow and prosper.
I'll use my first vision board to acquaint you with the process of putting one together.
1) Ask yourself what aspect of your life you’d like to change? Do you want to acquire a healthier body, a new house, design a garden, embark on a new career, etc.? In my case it was to build an art business and later, school.
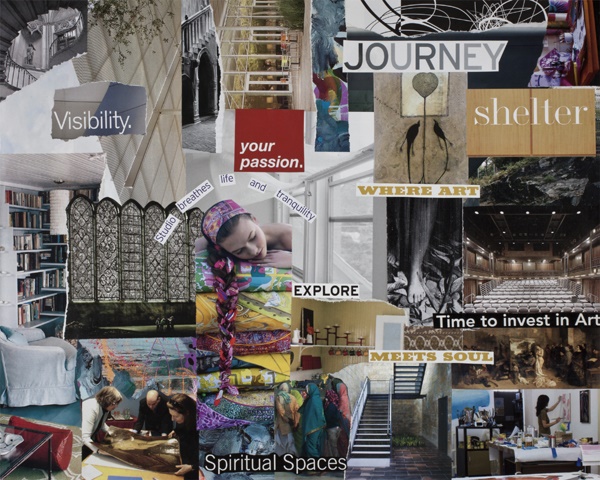
2) To envision what your board will look like, take 10 minutes to meditate to peaceful music while imagining your dream goal. Close your eyes and visualize this new world through your five senses (sight, sound, touch, taste, smell). Doing this allows you to build a more detailed vision of it on your board. In my case sight was very important. How my school and business were built and who inhabited their spaces were important. There are a mixture of spaces: old, modern and contemporary on my board .... places to contemplate, make and enjoy diverse forms of art. There are mixtures of people: old, young, professionals, lay people and people of different ethnicities who I hope to engage in this endeavour.
3) After meditating, take at least 10-15 minutes to jot down the types of images and words that came to mind while you were imagining your goal. Throughout the process, when you get stuck, these notes will help you focus.
There were concepts in my vision that I wanted to capture so I did these through choosing words I found in magazines... "shelter", "passion", "tranquility" and "journey" were concepts that were important to that world.
4) Search for your images and words in: magazines, books, photo albums, flyers and poetry/quote books; even the Internet.
5) Spend a few hours cutting out your materials and arranging them in a manner you see fit. I have a few simple collage layout styles I introduce to students as a guide. Depending on how big a surface you use and how much material you have, it may take you 1-3 hours to glue. You can also add: paint, pencil crayons, glitter, stickers, fabric, etc.. to add further texture and interest to your board.... really make it you!
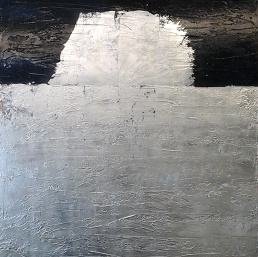
Because it's relatively simple, I like to use a grid style arrangement of images on my board (see image below); it's composed of mostly squares and rectangles that butt up together in linear grid format. I use illustration board for my board surface because it's sturdy and won't warp as much with liquid glues or paints. There are a variety of methods to "glue" things on your board. For fun ideas see my blog: "There Must be 50 Ways to Glue Your Collage" cited below. There are many other ways to present a vision board besides on an illustration board. Feel free to visit my Pinterest page (see below) for other vision board formats.
6) When finished, place your vision board in a room where you can contemplate on it for a few minutes every day... perhaps your bedroom or kitchen; mine is in my studio.
7) Share your piece with like-minded friends. They may be able to give you tips on how to achieve your dream goal. The ideas and support of friends and strangers has been invaluable in helping me achieve my dreams -- ah, the power of word-of-mouth!
If you decide to take up the vision board challenge, I’d love to hear how you felt about the process. If you’ve got more questions about the steps, feel free to email me. I’d be glad to give you more details. As well, see the links below to find out more about my motivations behind making my first vision board and other tips to make yours. If you'd like to take my next vision board workshop, please check my Workshops Page (http://www.collageyourworld.com/workshops.htm) periodically. My next couple will be in the fall.
Susan, many thanks for giving me this opportunity to spread the word and for giving me that swift kick I needed to get my act together again. Hugs!
Other Links:
Collage Your World: There Must be 50 Ways to Glue Your Collage
http://www.collageyourworld.com/blog/?p=187
Michelle Casey Pinterest Vision Board Samples
https://www.pinterest.com/mmmcasey/vision-boards/
Collage Your World: The Call of the Vision Board
http://www.collageyourworld.com/blog/?p=7218
The Right-Brain Business Plan: Michelle Casey's Vision Board
http://www.rightbrainbusinessplan.com/2010/06/28/spotlight-on-michelle-casey-of-collage-your-world/
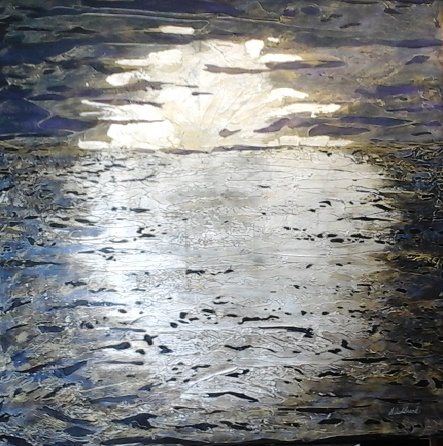
Michelle's Vision Board
Seven Easy Steps to Creating Your Own Vision Board
Susan invited me to talk to you about creating a vision board and I must say her timing is perfect. She has caught me red-handed procrastinating about making a new vision board for myself! Yes, even this instructor can be a huge procrastinator when it comes to making hers! I've been meaning to make one for a year and half now and just haven't roused up the enthusiasm.
You see I've suffered a number of great losses in the last couple of years... separating and divorcing my long-time partner, losing my house, various friends and family all in a short space of time and these things have taken their toll on my spirit. I found myself very disillusioned with life, so much so that I began to be too afraid to dream again.
In doing so I forgot how essential dreaming and imagining are to our lives. Author John Green has said: "If you don't imagine nothing ever happens at all." and this couldn't be more true. A vision board is just that; it's about imagining your dreams and making them real. As well as putting them front and centre in your life, so you don't forget them. If you believe that we only have one life to live, why not make it the best we have!
The first order of creating a vision board is to sit down and imagine what we want our lives to look like. My very first vision board was about beginning an art business as well as an art school. It's a big dream that is only possible to fulfill in small steps. Even though haven't fully realized it yet, since I began my vision board journey many amazing things have happened to me. I believe in its power so much so that I want to share it with others so everyone I know can grow and prosper.
I'll use my first vision board to acquaint you with the process of putting one together.
1) Ask yourself what aspect of your life you’d like to change? Do you want to acquire a healthier body, a new house, design a garden, embark on a new career, etc.? In my case it was to build an art business and later, school.
2) To envision what your board will look like, take 10 minutes to meditate to peaceful music while imagining your dream goal. Close your eyes and visualize this new world through your five senses (sight, sound, touch, taste, smell). Doing this allows you to build a more detailed vision of it on your board. In my case sight was very important. How my school and business were built and who inhabited their spaces were important. There are a mixture of spaces: old, modern and contemporary on my board .... places to contemplate, make and enjoy diverse forms of art. There are mixtures of people: old, young, professionals, lay people and people of different ethnicities who I hope to engage in this endeavour.
3) After meditating, take at least 10-15 minutes to jot down the types of images and words that came to mind while you were imagining your goal. Throughout the process, when you get stuck, these notes will help you focus.
There were concepts in my vision that I wanted to capture so I did these through choosing words I found in magazines... "shelter", "passion", "tranquility" and "journey" were concepts that were important to that world.
4) Search for your images and words in: magazines, books, photo albums, flyers and poetry/quote books; even the Internet.
5) Spend a few hours cutting out your materials and arranging them in a manner you see fit. I have a few simple collage layout styles I introduce to students as a guide. Depending on how big a surface you use and how much material you have, it may take you 1-3 hours to glue. You can also add: paint, pencil crayons, glitter, stickers, fabric, etc.. to add further texture and interest to your board.... really make it you!
Because it's relatively simple, I like to use a grid style arrangement of images on my board (see image below); it's composed of mostly squares and rectangles that butt up together in linear grid format. I use illustration board for my board surface because it's sturdy and won't warp as much with liquid glues or paints. There are a variety of methods to "glue" things on your board. For fun ideas see my blog: "There Must be 50 Ways to Glue Your Collage" cited below. There are many other ways to present a vision board besides on an illustration board. Feel free to visit my Pinterest page (see below) for other vision board formats.
6) When finished, place your vision board in a room where you can contemplate on it for a few minutes every day... perhaps your bedroom or kitchen; mine is in my studio.
7) Share your piece with like-minded friends. They may be able to give you tips on how to achieve your dream goal. The ideas and support of friends and strangers has been invaluable in helping me achieve my dreams -- ah, the power of word-of-mouth!
If you decide to take up the vision board challenge, I’d love to hear how you felt about the process. If you’ve got more questions about the steps, feel free to email me. I’d be glad to give you more details. As well, see the links below to find out more about my motivations behind making my first vision board and other tips to make yours. If you'd like to take my next vision board workshop, please check my Workshops Page (http://www.collageyourworld.com/workshops.htm) periodically. My next couple will be in the fall.
Susan, many thanks for giving me this opportunity to spread the word and for giving me that swift kick I needed to get my act together again. Hugs!
Other Links:
Collage Your World: There Must be 50 Ways to Glue Your Collage
http://www.collageyourworld.com/blog/?p=187
Michelle Casey Pinterest Vision Board Samples
https://www.pinterest.com/mmmcasey/vision-boards/
Collage Your World: The Call of the Vision Board
http://www.collageyourworld.com/blog/?p=7218
The Right-Brain Business Plan: Michelle Casey's Vision Board
http://www.rightbrainbusinessplan.com/2010/06/28/spotlight-on-michelle-casey-of-collage-your-world/
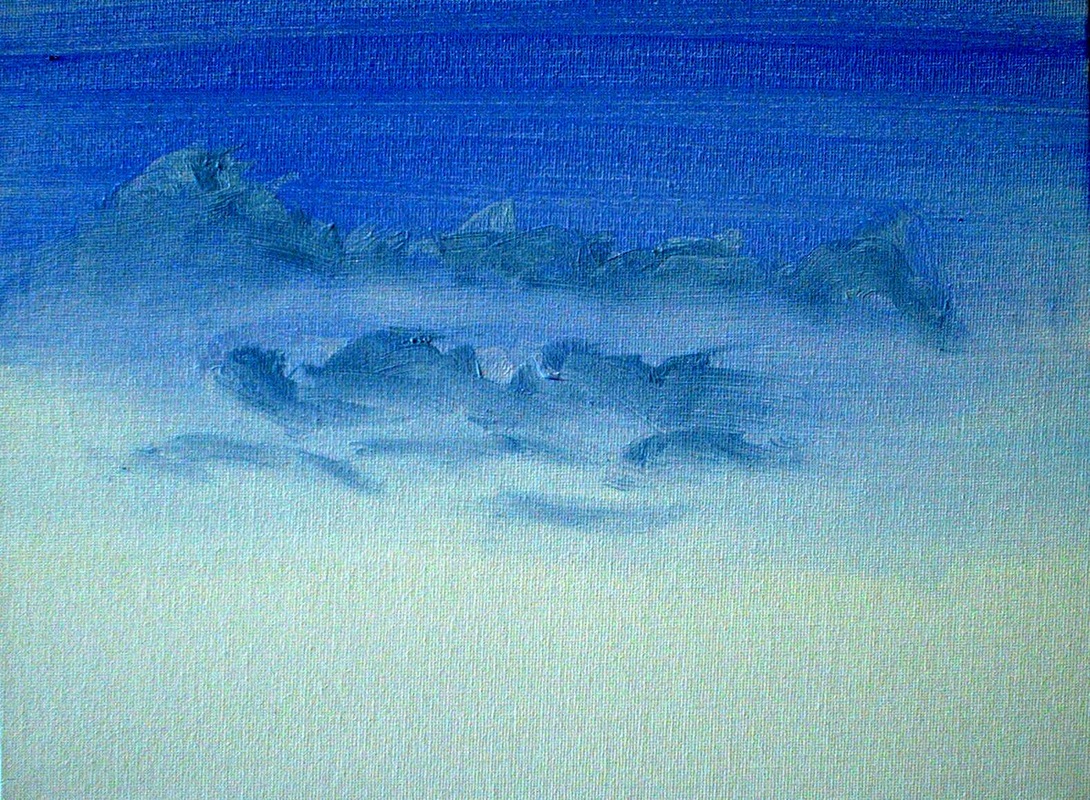
Michelle's Vision Board
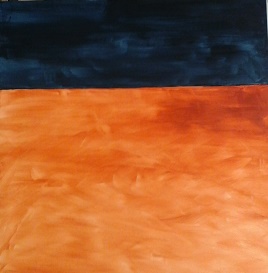
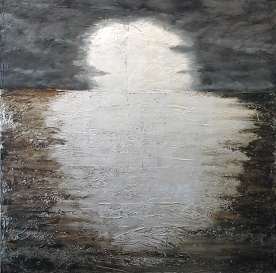
Susan's Vision Board
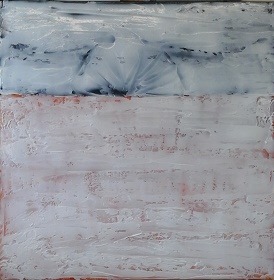
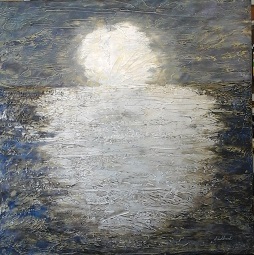
The result of one of Michelle's Vision Board workshops. It was a ton of fun and a very inspiring experience. Thanks Michelle!
The result of one of Michelle's Vision Board workshops. It was a ton of fun and a very inspiring experience. Thanks Michelle!


 RSS Feed