There was also the duty of contacting potential sponsors to cover printing costs. It's not my favourite job, but it needs to be done! And speaking of printing, I offered to get quotes from my printer because the prices they were getting seemed high to me. And of course, along with the quotes came stock samples that needed to be picked up and dropped off to the committee. So it has been busy, but there's nothing wrong with that! Right?
There's a lot of things to consider when dealing with composition in a painting or drawing and developing a focal point is one of the important ones. There are, of course, many ways to do this and today we look at one of them.
When working from photographs many people try to duplicate the photograph, verbatim. The problem with photographs is that the cameral lens sees the entire scene with a sharp eye, whereas, the human eye sees what you are looking at sharply, but what is in the periphery is less focussed with softer edges and less prominent colours. Cameras are great tools for gathering resource material, but it's what the human artist sees that creates the most captivating paintings... the ones that engulf peoples' imaginations... the ones that sell!
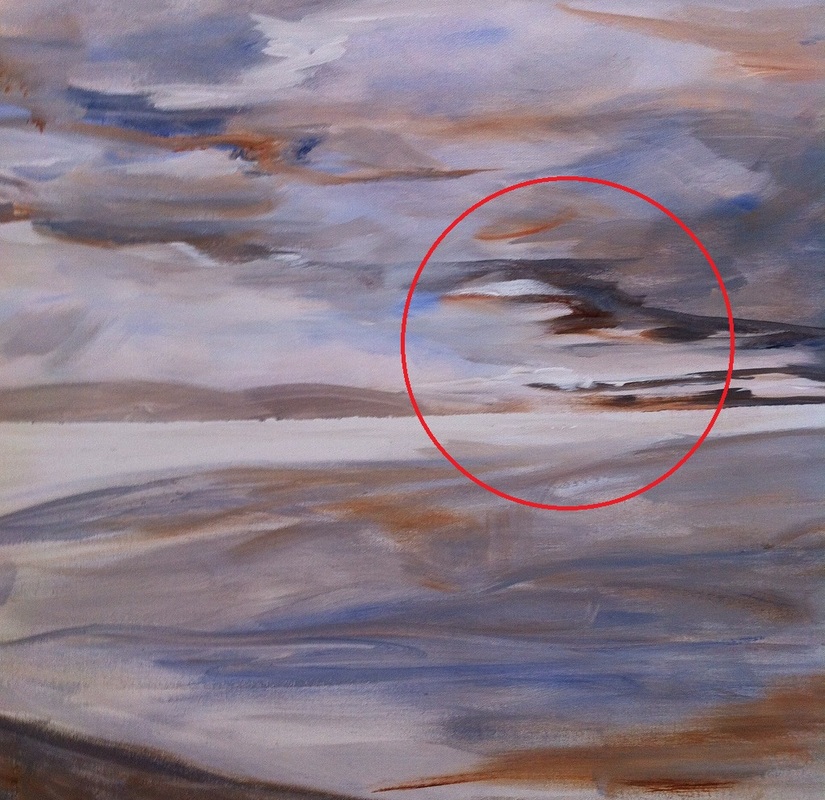
If you are painting a scene of water, land and sky that doesn't have any specific focal point then you need to create one. In the painting below, artist Karen Dyrda has created a focal point using an area of bright light next to the darkest clouds. This creates a contrast between the lightest and darkest colours which draws the eye towards it. Karen has also included more definition and hard edges in her centre of interest (red circle) and then softened the edges, colours and contrasts the further away you get from it. Notice how she has left detail out of the foreground so as not to impede the viewer's eye from getting to the focal point. Nicely done!
Canadian artist, Charles Spratt has an interesting way to get an artist to focus on their focal point or centre of interest... he asks "What are you showing me?" Of course in this case it is the light coming through the dark clouds, not the sky or the bit of land in the foreground.
Even if you are doing a very detailed piece it's always a good idea to soften edges, colours and contrasts around the outside edge of the canvas as this will help keep the viewer's eye from inadvertently wandering out of the painting.
Special thanks to Karen for letting me use her painting to illustrate this painting tip! You will be able to see her work at NEST in September as we are sharing a studio at 255 MacKay Street.
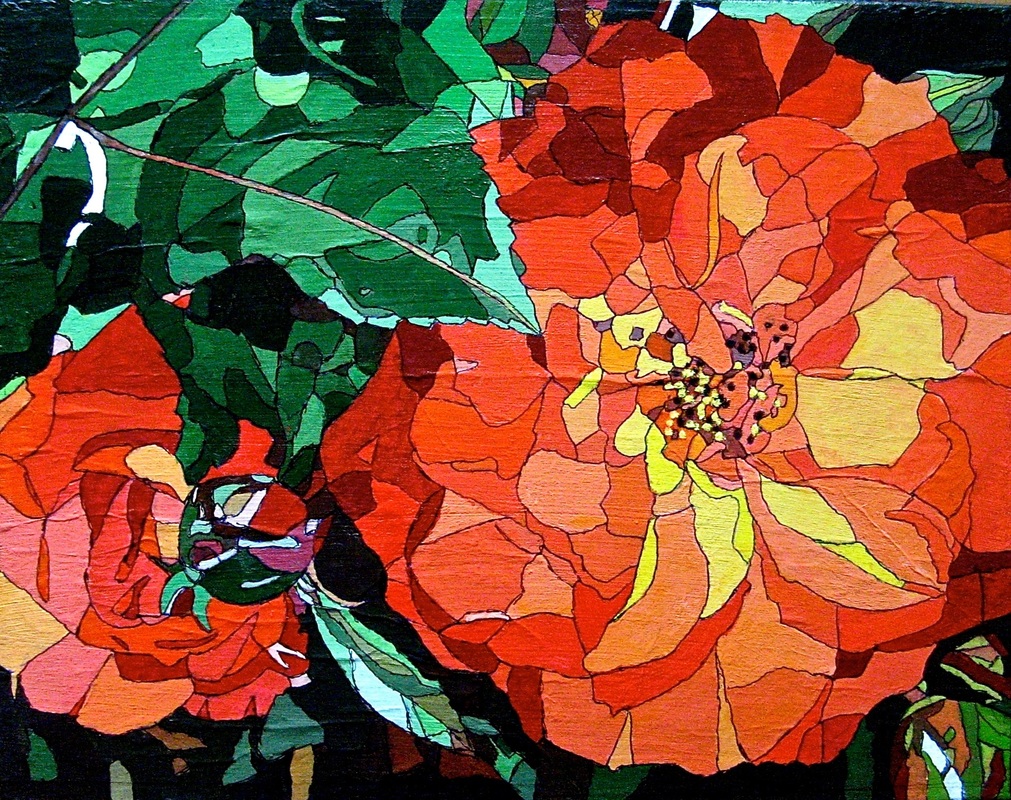
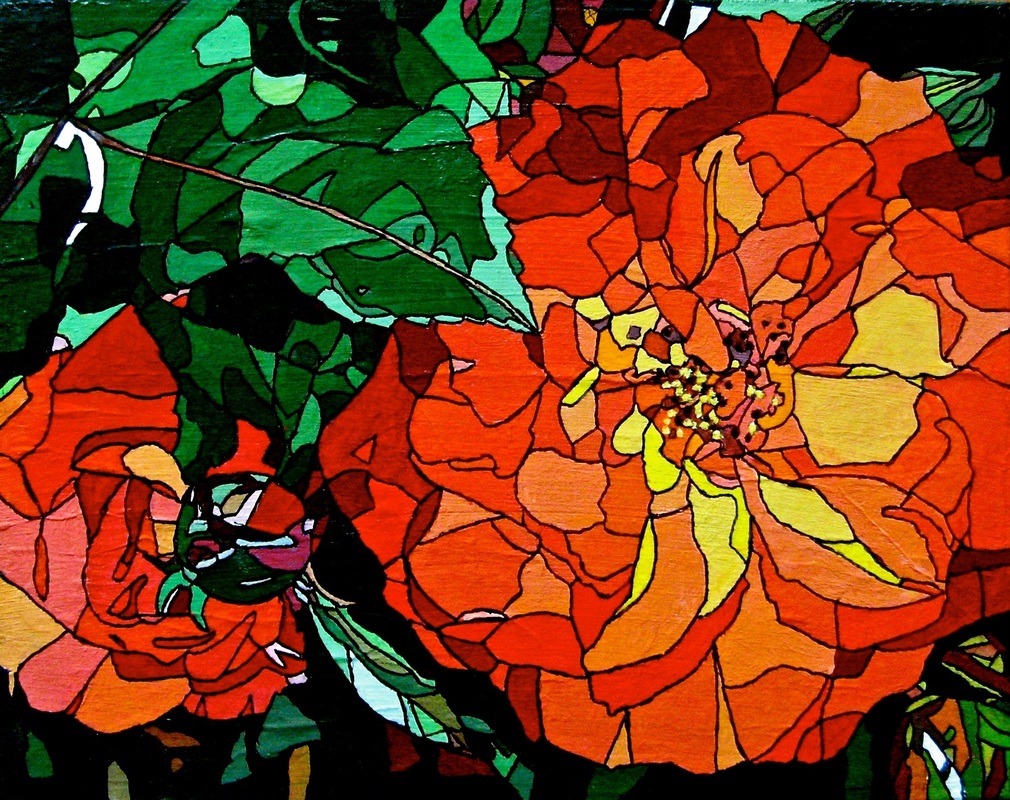
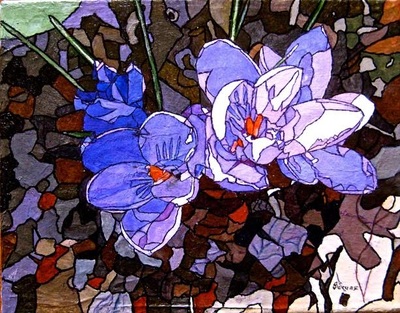
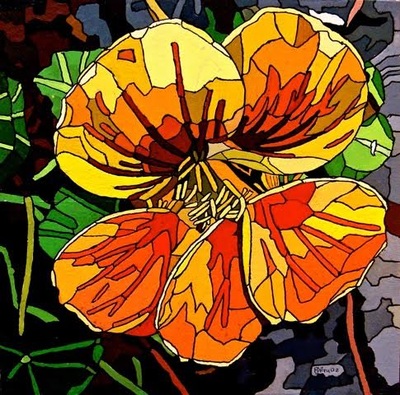
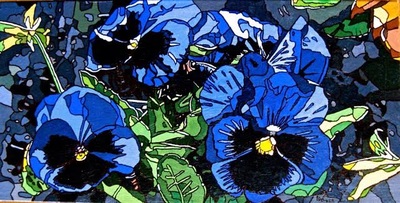
Guest Writer: Erika Déruaz on her Fractured Flowers
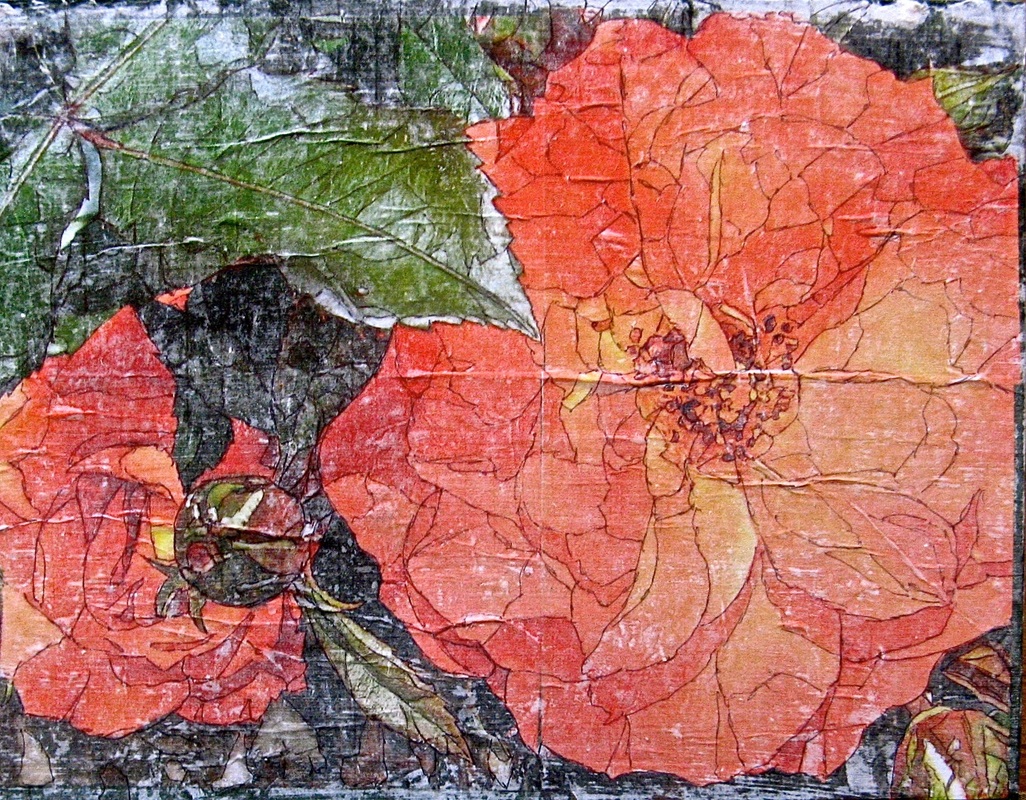
The idea of fractured flowers came from stained glass that has always fascinated me. For my paintings, I use direct transfers of my own photos, transferred straight on the canvas. On the computer, I crop a pleasant picture and calculate the size of the pieces I need (for example a 16” x 16” canvas needs four 8”x 8” pieces). Carefully, I divide the picture into the pieces and print them in the desired size in mirror image on basic white letter paper.
The transfer is done by spreading Soft Gel Gloss over the canvas, using it generously to get a good transfer. Start from the middle and work out to the sides getting rid of the bubbles which prevent the ink from transferring. Be careful not to get any gel on top of the paper which will make it un-removable.
After this has thoroughly dried, you can start removing the paper by wetting it and rubbing it off. Start from the middle and work out to the sides but don’t soak the paper all at once. When all the paper is removed, let the work dry and apply a coat of medium, I use GAC100.
If you have any questions or comments for Erika please respond by clicking on the orange "comments" link at the top right or lower left of the blog page and she will respond to you. You can learn more about Erika, and see her artwork at www.erikaderuaz.com/
Best wishes,
Susan

 RSS Feed